DIY Van Conversion: How to Insulate Your Camper Van for Winter
Mastering Van Life Comfort: A Deep Dive into Camper Van Insulation
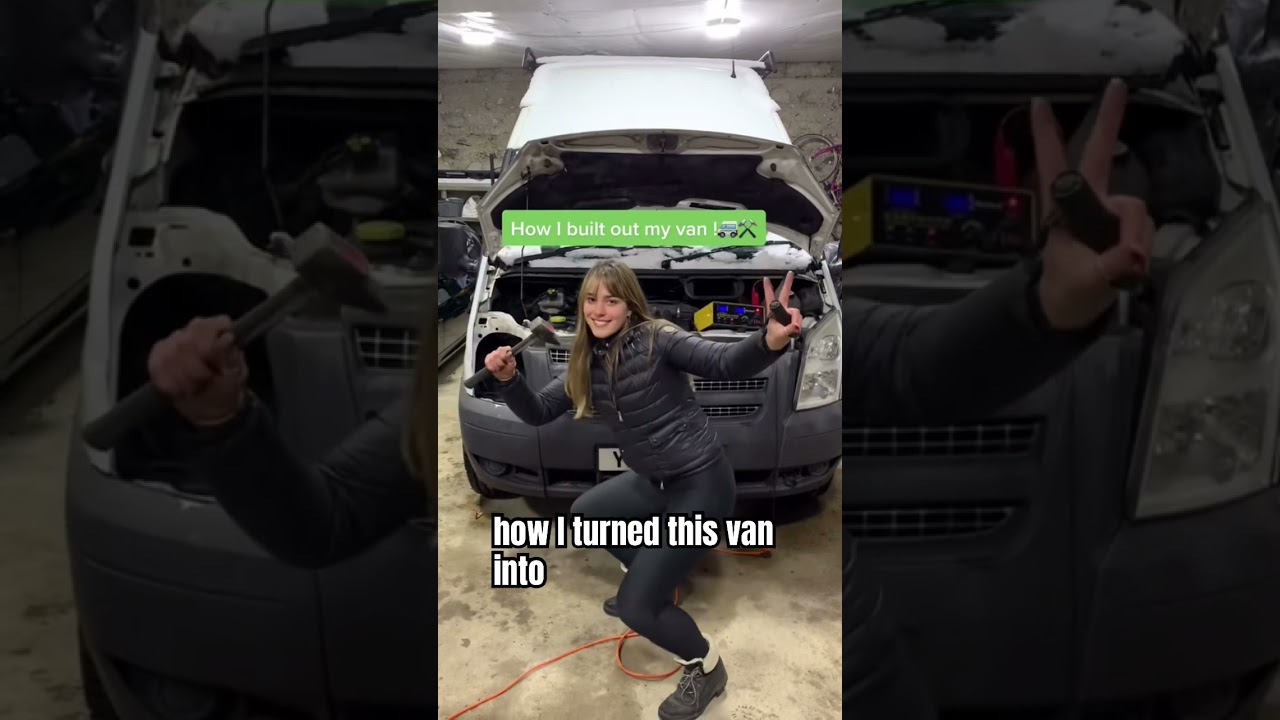
Embarking on a van conversion is an exciting journey, transforming a standard vehicle into a cozy, mobile home. One of the most critical aspects of this transformation, especially for those planning to travel in colder climates, is insulation. Proper insulation not only keeps you warm in the winter but also helps to keep the van cool in the summer, making your living space comfortable year-round. This guide, inspired by a detailed van conversion video, will walk you through the process of insulating your camper van, ensuring you stay toasty even when the temperatures drop below freezing.
Why Insulation is Non-Negotiable for Your Camper Van
Before we delve into the how-to, let's understand why insulation is a cornerstone of any successful van conversion. A van is essentially a metal box, and metal is an excellent conductor of heat. This means that without insulation, the outside temperature will quickly become the inside temperature. In the winter, this can be dangerously cold, and in the summer, it can be unbearably hot. Good insulation acts as a barrier, slowing down the transfer of heat and helping you maintain a stable and comfortable temperature inside your van. It also helps with soundproofing, reducing road noise and making your van a more peaceful place to be.
Choosing the Right Insulation Material
The first step in insulating your van is choosing the right material. There are many options available, each with its own pros and cons. The video highlights the use of recycled plastic bottle insulation, a choice that is not only effective but also environmentally friendly and healthier than some traditional insulation materials. Let's explore some of the most popular choices for van conversions:
- Recycled Plastic Bottle Insulation: As featured in the video, this type of insulation is made from recycled plastic bottles. It's a great choice for those looking for a sustainable and non-toxic option. It doesn't absorb moisture, which is a huge plus in a van where condensation can be a problem, and it's easy to work with.
- Sheep's Wool: Another natural and sustainable option, sheep's wool is excellent at regulating both temperature and humidity. It can absorb a significant amount of moisture without feeling damp and has natural anti-microbial properties.
- Rigid Foam Board (Polyiso, XPS): These boards offer a high R-value (a measure of thermal resistance) for their thickness, making them a popular choice for van floors and walls. They are easy to cut and install but can be more expensive than other options.
- Spray Foam: Spray foam insulation provides an excellent seal and a high R-value. However, it can be messy to apply and often requires professional installation. It's also a less breathable option, which can contribute to moisture problems if not managed correctly.
The Importance of a Vapor Barrier
Once you've chosen your insulation, the next crucial step is installing a vapor barrier. As mentioned in the video, a vapor barrier is a layer of waterproof material that prevents condensation from reaching and damaging your insulation. In a van, condensation is inevitable. It's created by everyday activities like breathing, cooking, and even just being inside the van. If this moisture gets into your insulation, it can lead to mold and mildew, which are not only bad for your health but can also ruin your van's interior. The video shows the use of a foil material as a vapor barrier, which is a common and effective choice. This is typically installed on the warm side of the insulation (the inside of the van) to stop warm, moist air from reaching the cold outer skin of the van and condensing.
Step-by-Step Insulation Guide
Now that we've covered the basics, let's walk through the steps of insulating your van, as demonstrated in the video:
- Preparation: Before you start, make sure your van is clean and dry. Any rust or damage to the metal should be repaired before you cover it with insulation.
- Applying the First Layer: The video shows the application of 100mm of recycled plastic bottle insulation. This is carefully fitted into all the cavities of the van, ensuring there are no gaps. Spray glue is used to hold the insulation in place.
- Installing the Vapor Barrier: Once the insulation is in place, the foil vapor barrier is installed over the top. This is also secured with spray glue, and all the seams are taped to create a complete seal.
- Insulating the Ceiling: The video highlights a different approach for the ceiling, using insulation formed into small bags. This makes it easier to attach to the ceiling and ensures a snug fit.
Frequently Asked Questions About Van Insulation
What is the best insulation for a camper van?
The 'best' insulation depends on your budget, climate, and personal preferences. Recycled plastic bottle insulation and sheep's wool are great eco-friendly options, while rigid foam boards offer a high R-value. It's important to research each type and choose the one that best suits your needs.
Do I need a vapor barrier in my van?
Yes, a vapor barrier is essential in a camper van. It prevents condensation from getting into your insulation, which can cause mold, mildew, and rust. It's a small step that can save you from major problems down the line.
How much does it cost to insulate a van?
The cost of insulating a van can vary widely depending on the size of your van and the type of insulation you choose. It can range from a few hundred dollars for a DIY job with budget-friendly materials to over a thousand dollars for professional installation with high-end materials.